


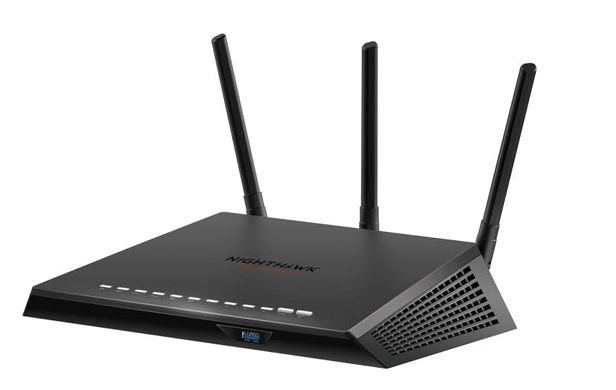
In this modern era, numerous numbers of people perform the Netgear Nighthawk setup in order to get a reliable and strong connection to the internet. Plus, people enjoy the flawless features of the router which enhance the internet experience.
However, in this post, we are going to tell you about one feature of the Netgear router that is very important for you to know as a user of Netgear. The name of the feature is “Guest Network”. With the help of this feature, you can secure your primary network from the wrong people. If you want to know more about this aspect then read out the article from up to down.
First, we will tell you about the guest network in brief so that you can understand how it is work. All the details are mentioned below. You just need to walk through it.
What is Guest Network?
For your information, the guest network is an amazing feature of the Netgear router. This feature makes a separate network for friends, family, and guests. With the help of this advancement, your primary network is secure because due to guest networks your relatives and friend are not able to access primary network resources. Now we will tell you how you can set up this feature on your router. Keep reading!
How You Can Enable Guest Network?
Well, there are two types of methods that you can use to enable the guest network feature on your router. The names of the procedures are web interface and nighthawk app. You can use one of them according to your convenience. But, in this post, we highlighted only one method which is a web interface.
Enable Guest Network Via Web Interface
This procedure is also called the manual method. In this process, you need to access the default web address of the router. All the related steps are mentioned below in detail. You just need to follow them:
Power On Router
The power supply is the most important thing whether you perform the Netgear WiFi extender setup or access the router login page. So, you need to give the fluctuation-free power supply to the router from the electricity source. Make sure you use the non-damaged wall outlet to avoid disturbance during the procedure.
Once you plug the router into the power socket, push the turn-on button until you see the light.
Connect the Device
Now, you need to make a constant and reliable internet connection between the router and host modem. You have two types of modes to make the connection, wireless and wired. It depends on your choice of which one you use. Ensure one thing while making the connection that both devices communicate properly with each other.
Switch on the Computer or Laptop
For the further process, you need to switch on the computer or laptop. You can use any of them according to which one you have. Ensure that your device gets a sufficient power supply. You can use the UPS to give the battery backup in case of a power supply.
Open the Web Browser
Now you need to launch the internet browser after turn-on the computer. You need to use the upgraded web browser because outdated browsers do not work properly.
Access the Default URL
You need to type the router’s default web address into the address bar of the browser. Make sure you type the correct address without making any typing mistakes.
Press the Enter key.
Log Into the Router
Netgear router login panel will appear in front of you, in which you need to fill in the username and password of the device. Click on the Log In button.
Now, you will see the Netgear genie setup in which you need to locate the menu settings.
- Click on the Advance settings.
- Select the Administration.
- You will see the list in which you need to click on the Guest network option.
- A guest network panel will appear.
- Follow the on-screen prompts to complete the procedure.
Hence, these are the steps of a manual method to enable the guest network on the Netgear router. Now you can comfortably give the password of your guest network to friends and relatives.