


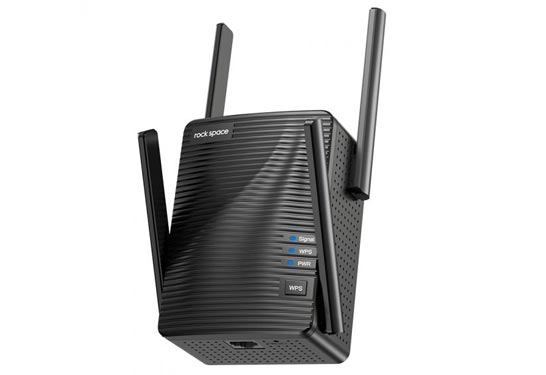
In case you are wondering about the best way to enhance the performance of your Rock space wireless range extender, then it is recommended that upgrade its firmware to its latest version with the help of the Rockspace WiFi extender login credentials.
You do not have to worry about how to execute the process. The reason being, in this article, we have highlighted the step-by-step instructions following which you will easily be able to update the firmware of your networking device. With that said, continue reading.
How to Upgrade Rockspace Extender Firmware?
-
Supply Good Proper Supply
Start the process by plugging your Rockspace wireless range extender into a working wall outlet and hitting the power button. Soon the LED located on the networking device will become stable indicating that you can proceed further.
Note: In case the LED on your extender does not become stable, then it is recommended that you restart your device. After that, start the Rockspace extender firmware update process right from scratch by referring to the guidelines given in this post.
-
Connect the Networking Devices
Get hold of an Ethernet cable and connect the extender to the router. You can do so by inserting one end of the cable into the Rockspace range extender and another into the host router. Once that is done, make sure that the connection established is finger-tight.
Note: Although connecting the networking devices with an Ethernet cable is an excellent way to stop their signals from causing issues, in case, you still do, then consider connecting them with the help of a wireless source of connection.
-
Open an Internet Browser
Gain access to a laptop and open an internet browser on it. Make sure that your browser is running on its upgrade version. Once assured, go to the address field or the URL bar and enter the default web address of your Rockspace wireless extender. Press the Enter key.
Note: Apart from using an updated internet browser, ensure that it is clean. On the off chance, then make it by making it free from cache, cookies, and browsing history. Doing so will help you to prevent Rockspace extender-related issues.
-
Do Rockspace Extender Login
Pressing the Enter key will take you to the Rockspace extender login page. There you will find two fields named Username and Password. Enter the needed admin login details and click on the Login button. Soon the Rockspace extender setup wizard will appear.
Note: In case you did not change the admin login credentials of your extender and they are still the default ones, then refer to the user manual to be certain about them. This way, you will not make mistakes while entering them into their respective fields.
-
Upgrade the Extender Firmware
Go to the Settings menu on the wizard and access the Administration section. Click on the Firmware Update button. A new window will pop up with some instructions. Follow them in order to wrap up the Rockspace extender firmware update process.
Although you will be able to easily update the firmware of your device with ease via the web address, in case you come across the re rockspace local not working issue, then use the default IP address to execute the same process.
Final Thoughts
As mentioned earlier, via Rockspace extender firmware update, one can easily enhance the performance of the networking device. We hope that after walking through the guidelines given above, you will successfully be able to upgrade the firmware of your Rockspace wireless range extender to its latest version.
What do you think of this article? Was it a good read? Whether your answer is a yes or no, do share it with your fellow readers via the comment section.