


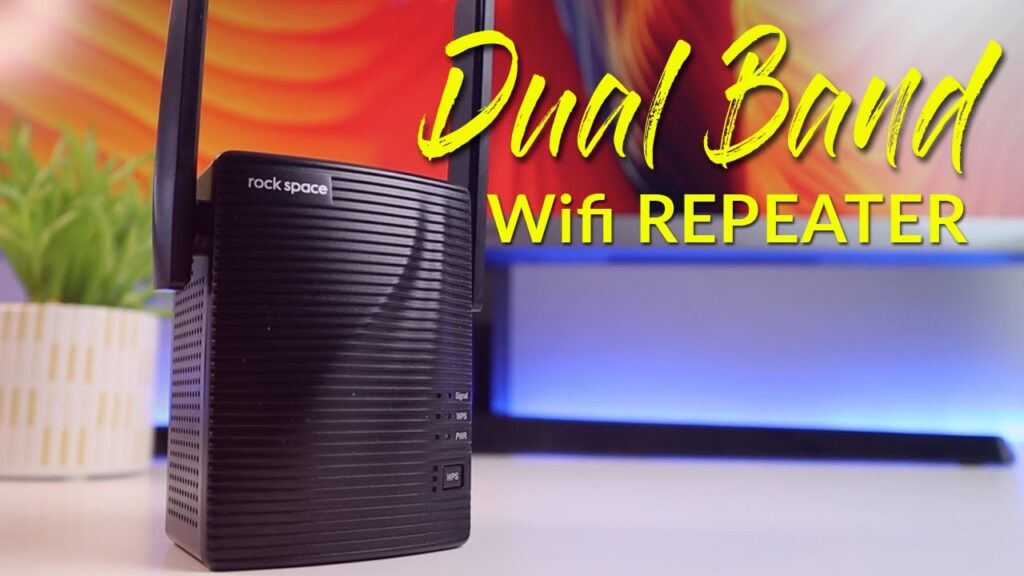
Are you unable to access the Rockspace WiFi extender’s default web address, re.rockspace.local? If so, then you need to fix this issue as soon as possible. Because if this issue hasn’t been fixed on time, then you will neither be able to perform Rockspace WiFi extender setup nor update its firmware.
Need not worry! We will help you deal with the issue in a flash. All you have to do is to implement the fixes provided here and say goodbye to the annoying problem, forever. Here we go!
Reasons: re.rockspace.local Not Working
Before we make you familiar with the fixes to cope with the issue, let us make you familiar with the reason causing “re.rockspace.local not working” issue.
- Your internet connection is wonky
- Typing errors in the web address
- No connection (Ethernet or wireless) between your Amped range extender and router
- Technical glitches
- Outdated web browser
That’s all about the reasons causing the issue. Now, scroll down a little and know how to get rid of the bothersome issue while relaxing on the couch.
Fixed: re.rockspace.local Refused to Connect
Fix 1: Verify the Web Address
First, you need to check for typing errors. 9 out of 10 users do typing errors while entering the web address, re.rockspace.local. If you are also one of them, then it’s the correct time you rectify your mistake. How? Just crosscheck the web address entrée prior to hitting the Enter key.
Additionally, we advise you to avoid using the web browser’s search bar or the private window for accessing the Rockspace WiFi extender login page using the web address.
Fix 2: Your Internet Connection is Wonky
A wonky or unstable internet connection also causes “re.rockspace.local refused to connect” issue. Hence, to get rid of it and to make the web address work for you, we suggest you contact your internet service provider right away. Yes, you read it right! The service provider of your internet connection is the only one who can fix unstable internet connection issue for you.
And, once you started getting fast internet range from the end of your ISP, you will see that the Rockspace extender’s default web address, re.rockspace.local login has started working for you.
Fix 3: Check the Connection
Have you connected your Rockspace WiFi extender and host router in a proper way? Kindly verify the same! Bear in mind, unstable Ethernet or wireless connection between your devices leads you to experience the issue. In order to get it fixed, make sure to establish a secure and finger-tight connection between them.
Also, the Ethernet cable you have used to build a wired connection between them must not be damaged. Apart from this, there must be a safe distance between your Rockspace extender and router if you are about to connect them wirelessly.
Still No Luck?
None of the fixes listed above bring you luck? If you are nodding in no, then the next hacks provided below will help you. Hence, don’t scroll away.
Fix 4: Power Cycle Your Rockspace Extender
Technical glitches may also let you experience “re.rockspace.local refused to connect” issue. If you want to do away with the problem, it is advised to power cycle your Rockspace extender.
Thus, follow the instructions highlighted below and know how to implement the power cycling process on your Rockspace extender:
- First of all, you need to disconnect your Rockspace extender and your host router.
- Then, you need to unplug your Rockspace device and wait for a couple of minutes.
- Thereafter, you can plug back your Rockspace device.
- Reconnect it to your router.
Here’s to hope that after power cycling or restarting your Rockspace WiFi extender, the “re.rockspace.local refused to connect” issue is now fixed.
Fix 5: Update the Web Browser
If the web browser you are using to access the Rockspace extender’s default web address is outdated, then also you will surely bump into the issue. Hence, to get the issue fixed from the comfort of your home, it is suggested to update the web browser version right away.
In a Nutshell
Rockspace WiFi extenders are one of the best networking devices known for providing continuous internet connectivity all over your land, But, you have to perform Rockspace WiFi extender setup process using re.rockspace.local properly. We hope that the fixes we have outlined above helped you troubleshoot the issue.
Read more- Issues with Netgear WiFi Extender and their Fixes